


First step is you have to download the Yoast SEO plugin to the WordPress site. There have been two ways to set up this plugin. You may either:
Install Yoast Plugin
Upload the plugin straight from your WordPress site (go to Plugins > Add New, check for Yoast SEO and select Install) or
The Cyber Monday sale has officially begun! For a very limited time, Divi are offering our biggest discount of all time plus free bonus gifts and exclusive perks...and that's just the beginning! Once Cyber Monday is over, this crazy deal won't be back until next year Divi Theme Discount today!
Install this from the WordPress repository, upload it on the WordPress site by going to Plugins > Add New then upload the downloaded.zip file.
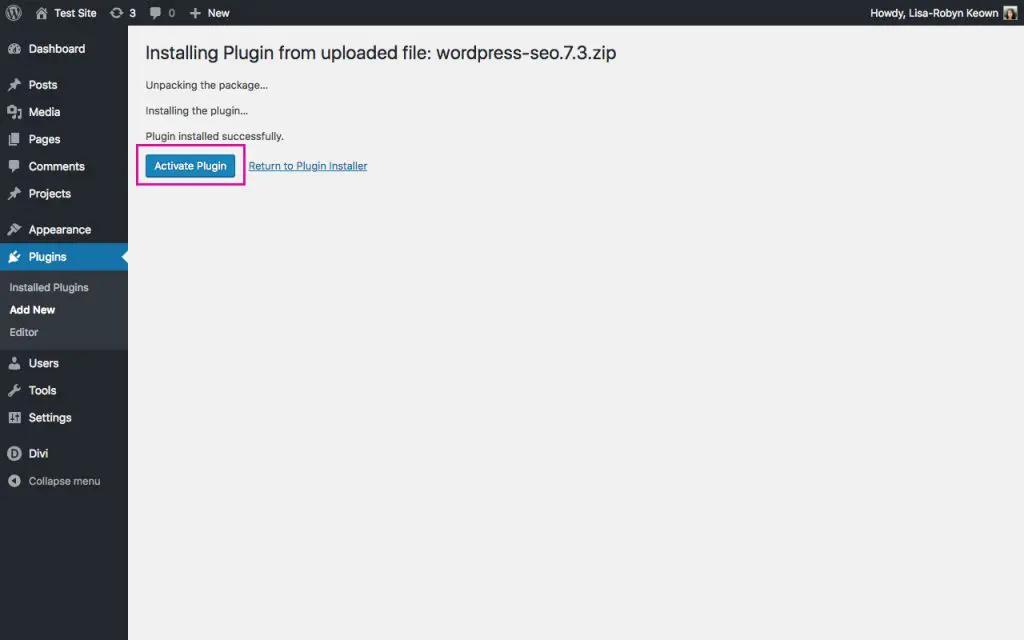
If you’ve installed the plugin, ensure you press Activate or the Yoast SEO doesn’t work.
Setup the Yoast SEO WordPress Dashboard plugin
Once Yoast SEO is enable and triggered, you can see a current menu item named SEO and also a Yoast SEO logo throughout the WordPress dashboard bar.
By clicking on either the admin logo or going to SEO > General, you’ll go to the Yoast SEO Dashboard and you’ll get notifications about the plugin, details about the search output of your website, issues the plugin may encounter while attempt to improve your SEO, and etc.
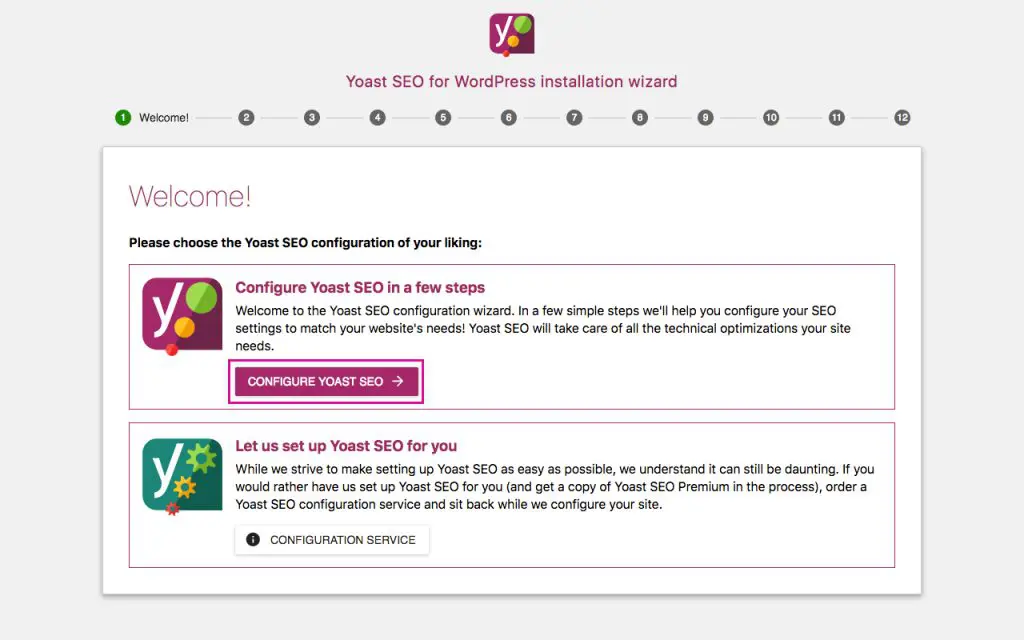
First thing Yoast SEO users who do not truly understand how to configure a plugin will be recommend to use the configuration wizard.

When you start the configuration wizard, the plugin questions if you want to customize the settings yourself or pay a charge for the Yoast SEO team to do it for you. Pick the Setup choice for Yoast SEO and select Next.
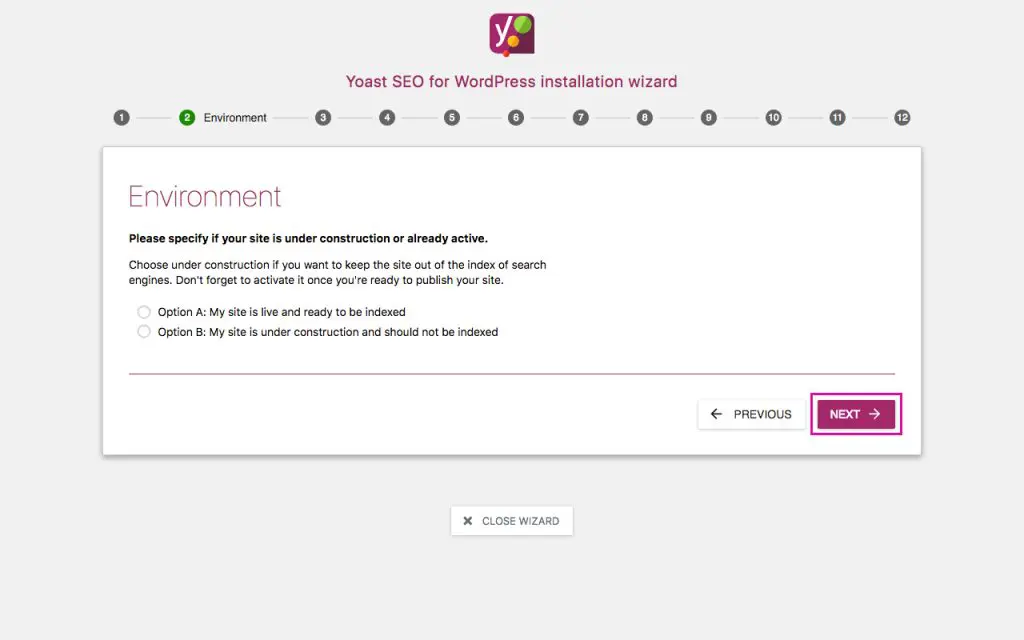
Next, you will be ask to decide which condition your website is actually in – live or in construction. When you choose Option A, Yoast SEO will start indexing your web. If your website has been under development, choose Option B. You can quickly switch it once your site already deploy. Pick the right setting and click Next.
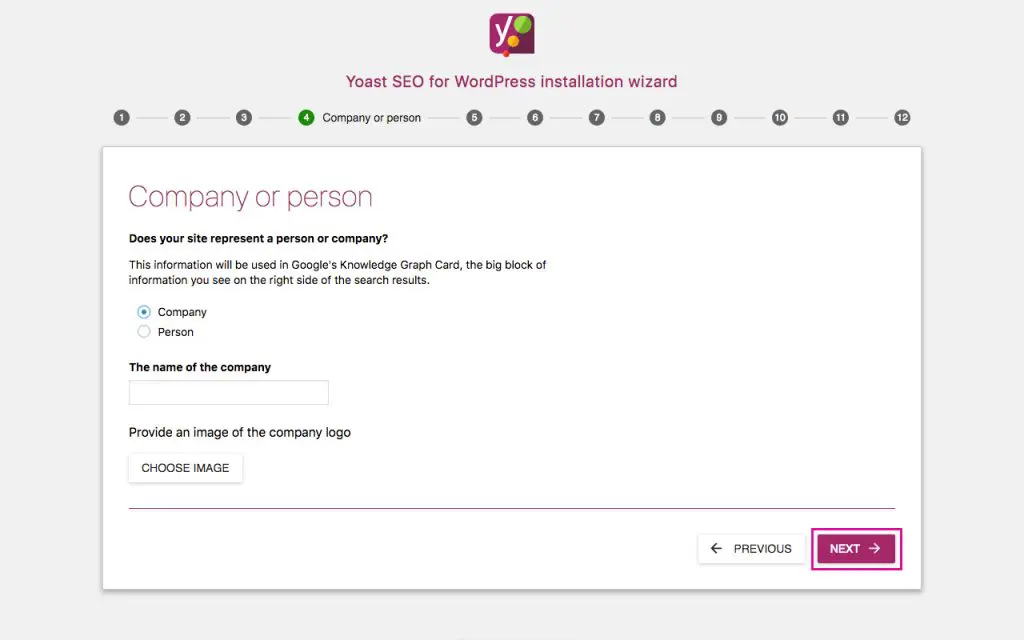
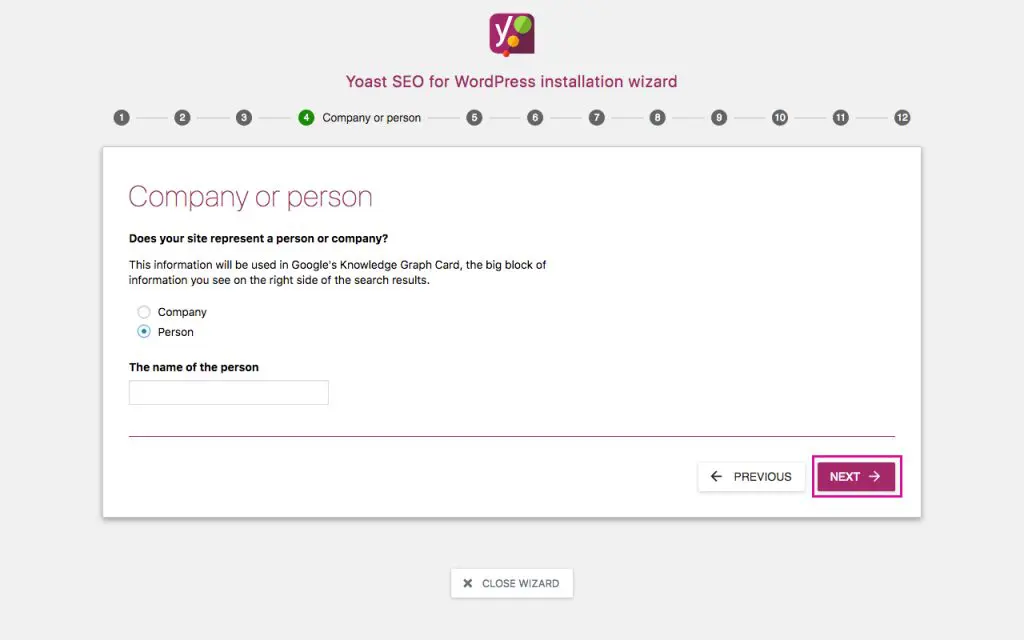
You are asked to describe if your site is for a corporation or an individual. Each choice asks for different inputs – the name of the company and the logo or the identity of the person. With this data, Yoast can send relevant insight to the Google Knowledge Graph. Choose the right choice and press Next.
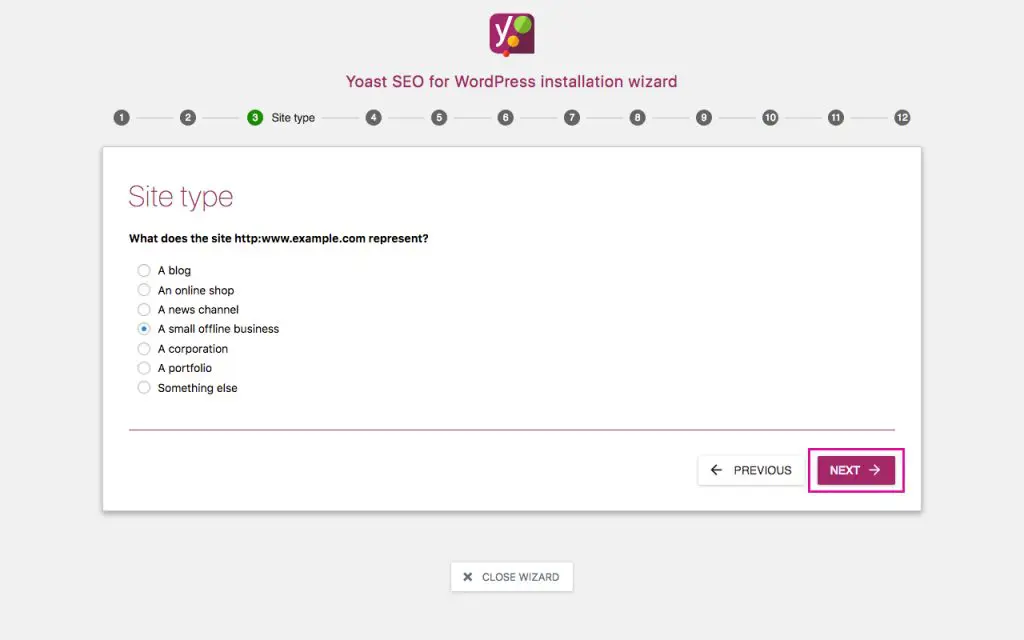
During this point, the plugin requires you to define the type of web you are making (an online store, a blog, a portfolio site etc). Pick the choice that best fits your site and press Next.
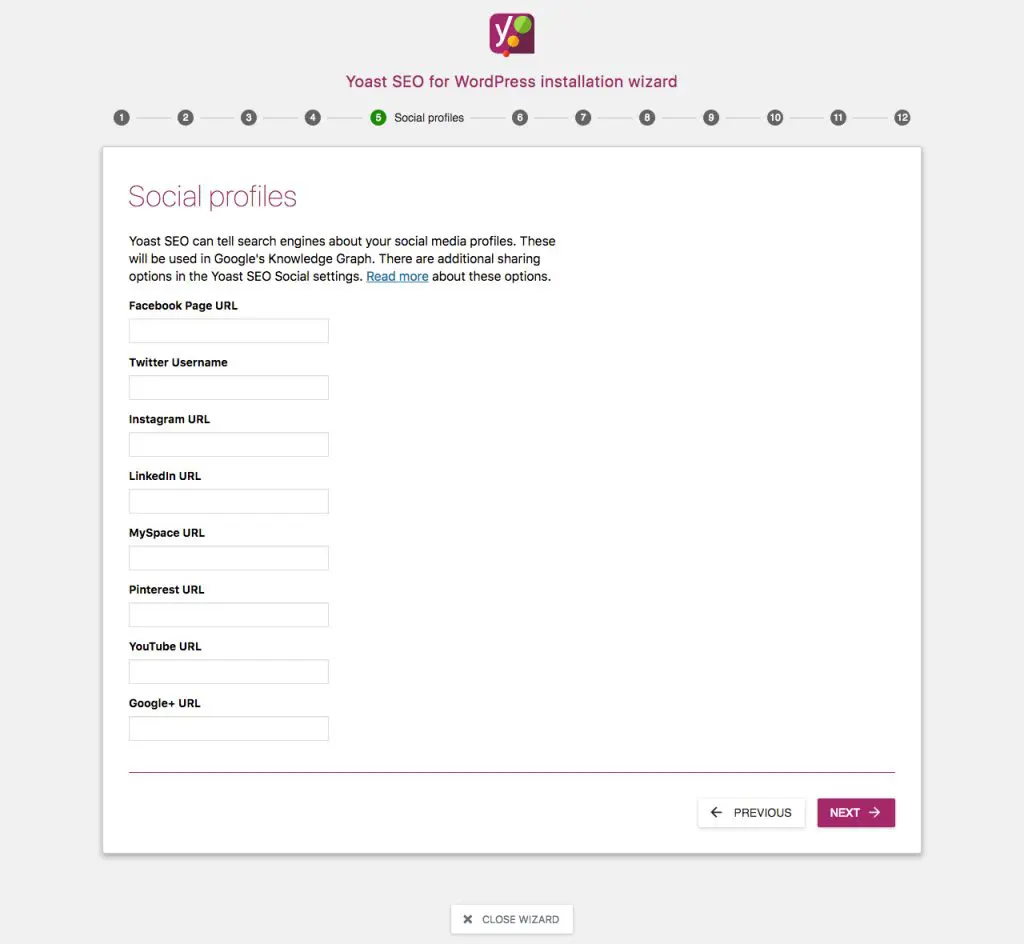
The next move is to link your accessible social media account to Google’s Knowledge Graph again for more detailed details. Enter the right URLs and then press Next.
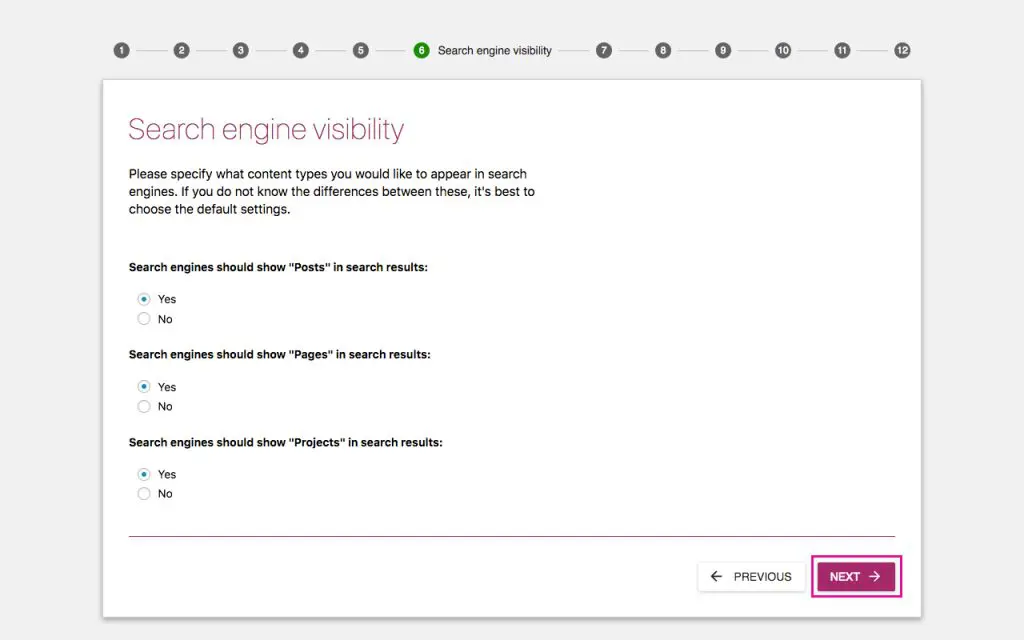
In Step 5, you are given a choice to set if your sites, articles or projects will be displayed in search engines. Very self explanatory unless you want a post form to be indexed and shown in the search results for some particular reason, choose Yes for those options and select Next.
First, you are ask to decide if your site would have several contributors. To avoid WordPress from producing duplicate content for a single author when trying to replicate the author’s archive pages, decide whether you will have much more than one author, and then click Next.
Phase 7 asks you to link your website to the Google Search Console.
If you’ve already set up the Search Console, click the Get Google Authorization Code icon and sign in to the corresponding Google Account. Here, you will get an access key to copy paste into the area shown below. When pasted, click Authenticate, then click Next.
If you haven’t already set up the Google Search Console, you’ll have an another few things to do in advance of this stage. At the this point, you may skip Step 7 and go back to it at a later date, but bear in mind that listing your Google Search Console settings on your website is extremely important if you want your website to do well during the search results.
We’re going to cover the Google Search Console configuration steps briefly below in this post, for the time being, if you can’t connect to the Google Search Console here, just skip that step for now.

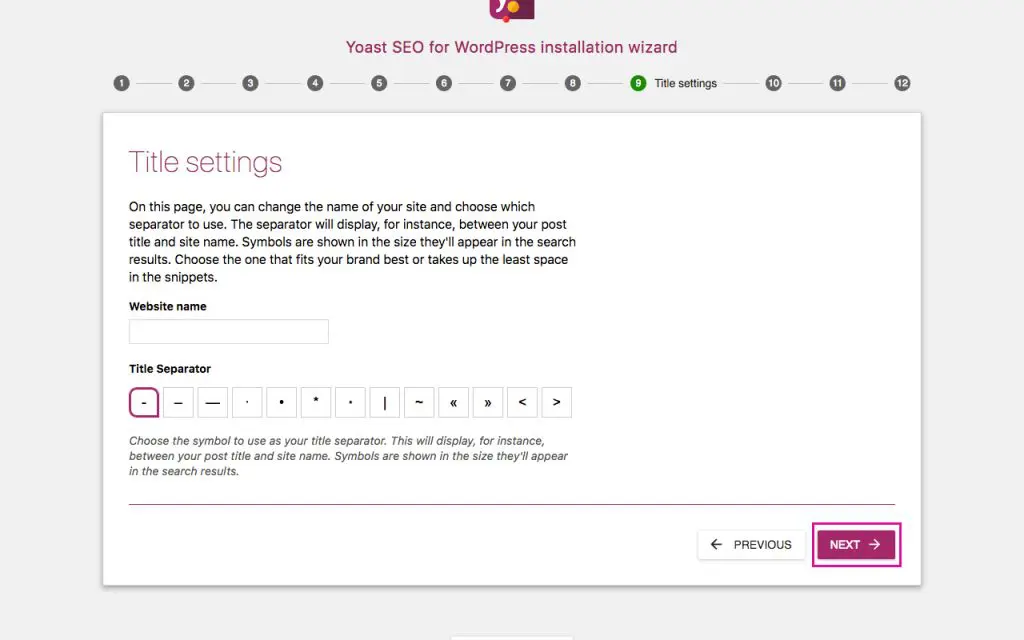
You will require to pick the title setting at this stage. These separators (as punctuation marks) will use between page titles and post titles and website titles. Pick the separator you want and select Next.
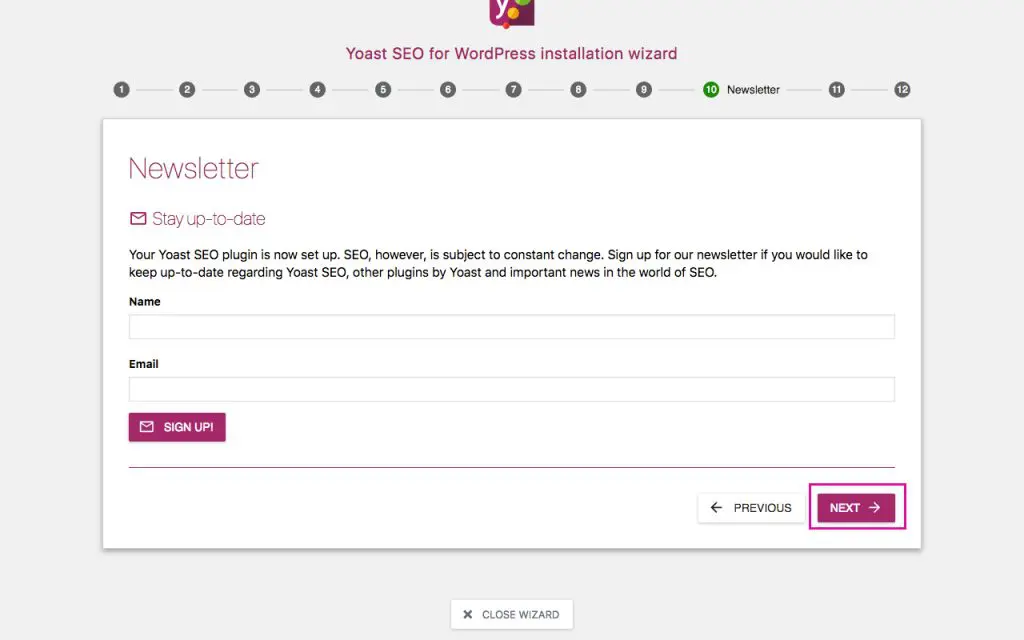
Step 9 is just a plugin that asks you to register for the Yoast SEO mailing list. Yoast already recognize for releasing very useful content, so if you’re new to WordPress, online marketing, or SEO, consider joining up.
You’ve finally come to the end of the installation and configuration phase. When you’re finish, press close.

If the configuration process is finish, the plugin is already good to go. As soon as you create a new post, you should see an extra section in the page or post editing – the Yoast SEO plugin – such as the metadata input tab and the ‘traffic light’ that will direct your article.


0 Comments